3 Simple Steps for Creating Realistic Sky Replacements
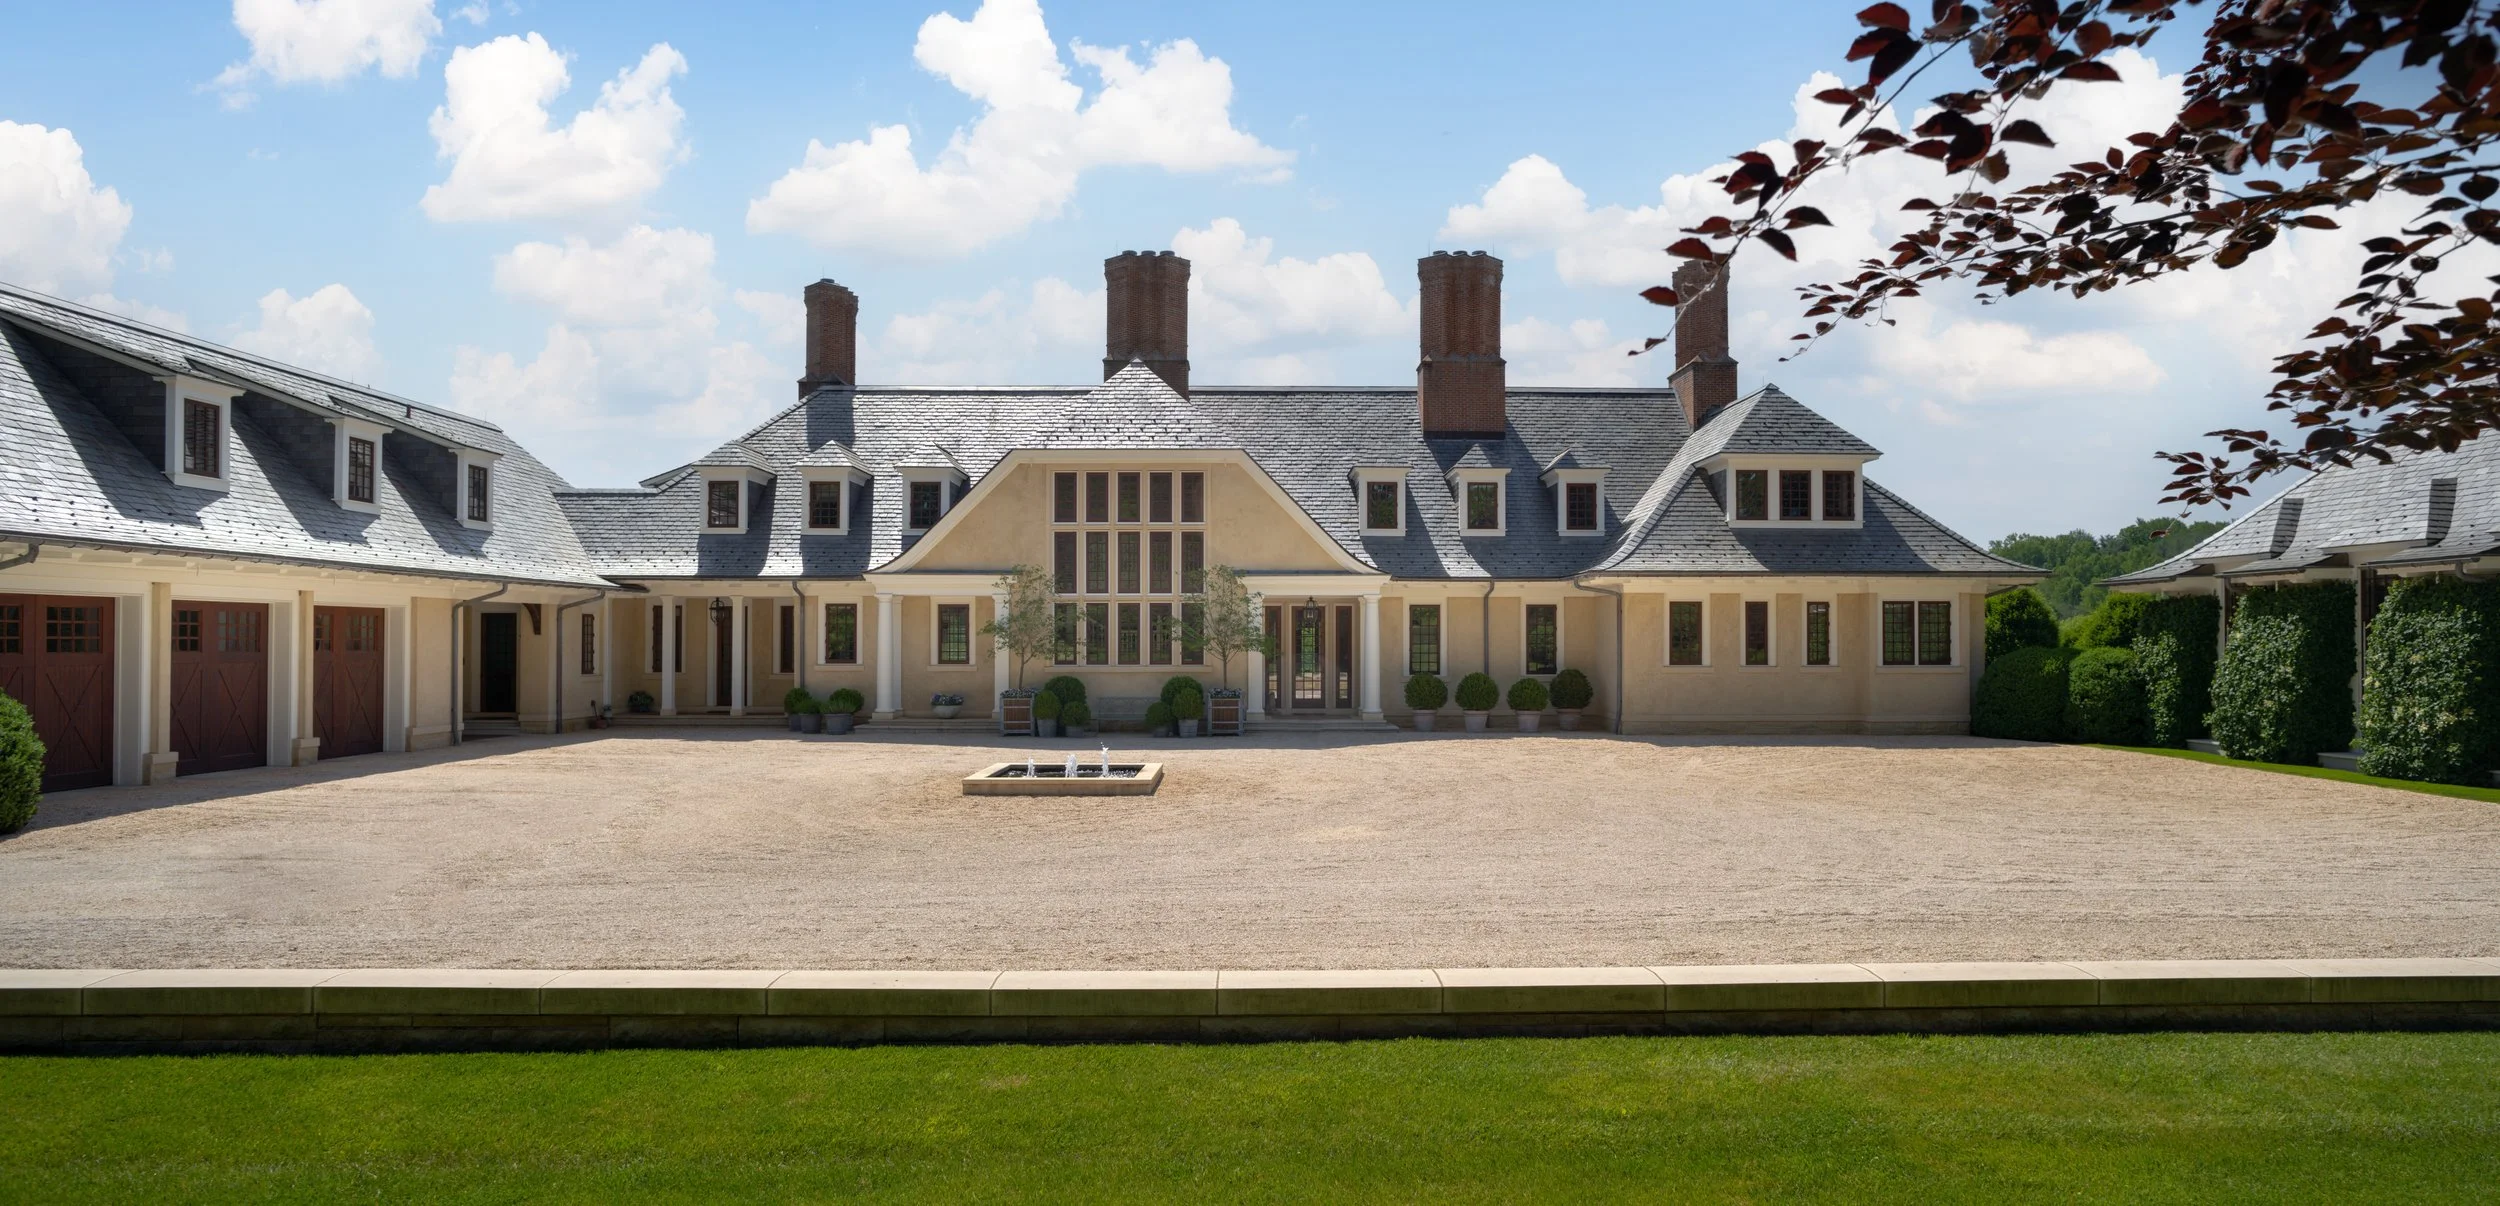
Have you ever stood in awe of a breathtaking landscape photo, only to realize that it was enhanced by a stunning sky replacement? Don't worry, you're not alone! Sky replacements have become a game-changer for photographers looking to add drama and allure to their images. But how can you achieve such jaw-dropping results without spending hours on complicated editing techniques? Fear not, as we are here to reveal the three simple steps that will help you create realistic sky replacements like a pro. So grab your camera and let's dive into the mesmerizing world of transforming ordinary skies into extraordinary works of art!
Sky Replacements Require Beautiful Skies
If you want to replace the sky in a photo, the first step is to gather some high-quality photos of skies that you love. Look for a variety of different weather conditions and times of day, so you have options to choose from later. You'll thank us later. You can purchase our sky collection in the link below!
If you would like to use your own and get the best results, your photos should be taken under similar lighting conditions as the photo you're editing. So, if you're editing a daytime photo, try to find some daytime reference skies. The same goes for night time or sunset/sunrise shots. Pay attention to the clouds and direction of the sun.. this is really important to help you stand-out from your local real estate photography competition.
Once you have a good catalog of sky replacement photos, it's time to start editing your real estate photos!
Upload Your Sky Replacements to Photoshop
In order to create a realistic sky replacement, you'll need to first upload your catalog of images into Photoshop. Once you have your first image open, this can be done by opening up "Edit" --> "Sky Replacement...". In the resulting dialog box, locate the "+" at the bottom. We categorized our folders by time of day for simple sorting.
Now, the fun part - select the sky you think fits the scene best. This may sound difficult, but it's a simple as letting PS AI mask-out your current sky with the sky replacement of your choice with just a click.
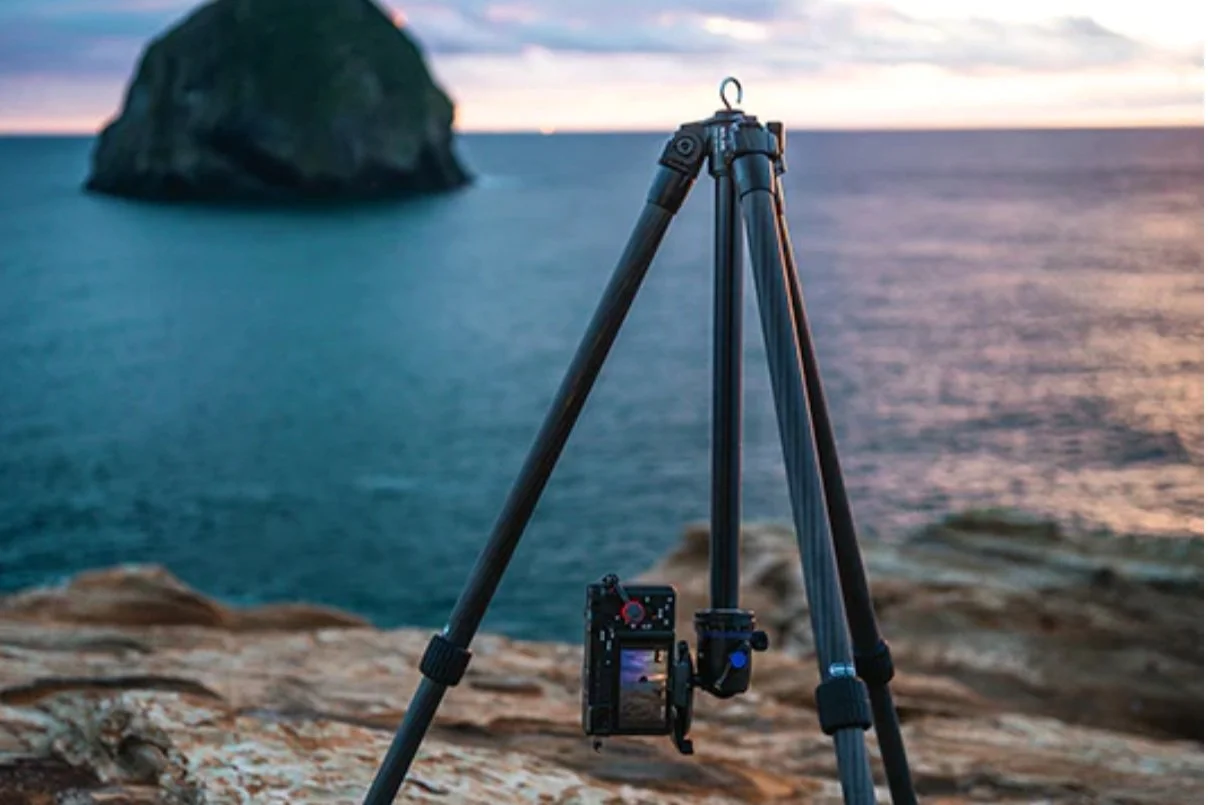
3 - SLIK Pro CF-733 65.5" Carbon Fiber Tripod
The Slik Pro CF-733 is a masterpiece of engineering and design, crafted from lightweight yet durable carbon fiber to provide the ultimate support for your photography adventures. Its sleek construction boasts three leg sections with twist locks that can be adjusted to multiple angles, ensuring stability on any terrain. The tripod's maximum height of 65.5 inches and weight capacity of up to 15 pounds make it perfect for shooting landscapes or portraits in any setting. The center column can also be reversed for low-angle shots, while the rubber feet offer excellent grip on slippery surfaces. With its exceptional build quality and versatile features, the Slik Pro CF-733 is an essential tool for every photographer seeking precision and reliability in their work.


