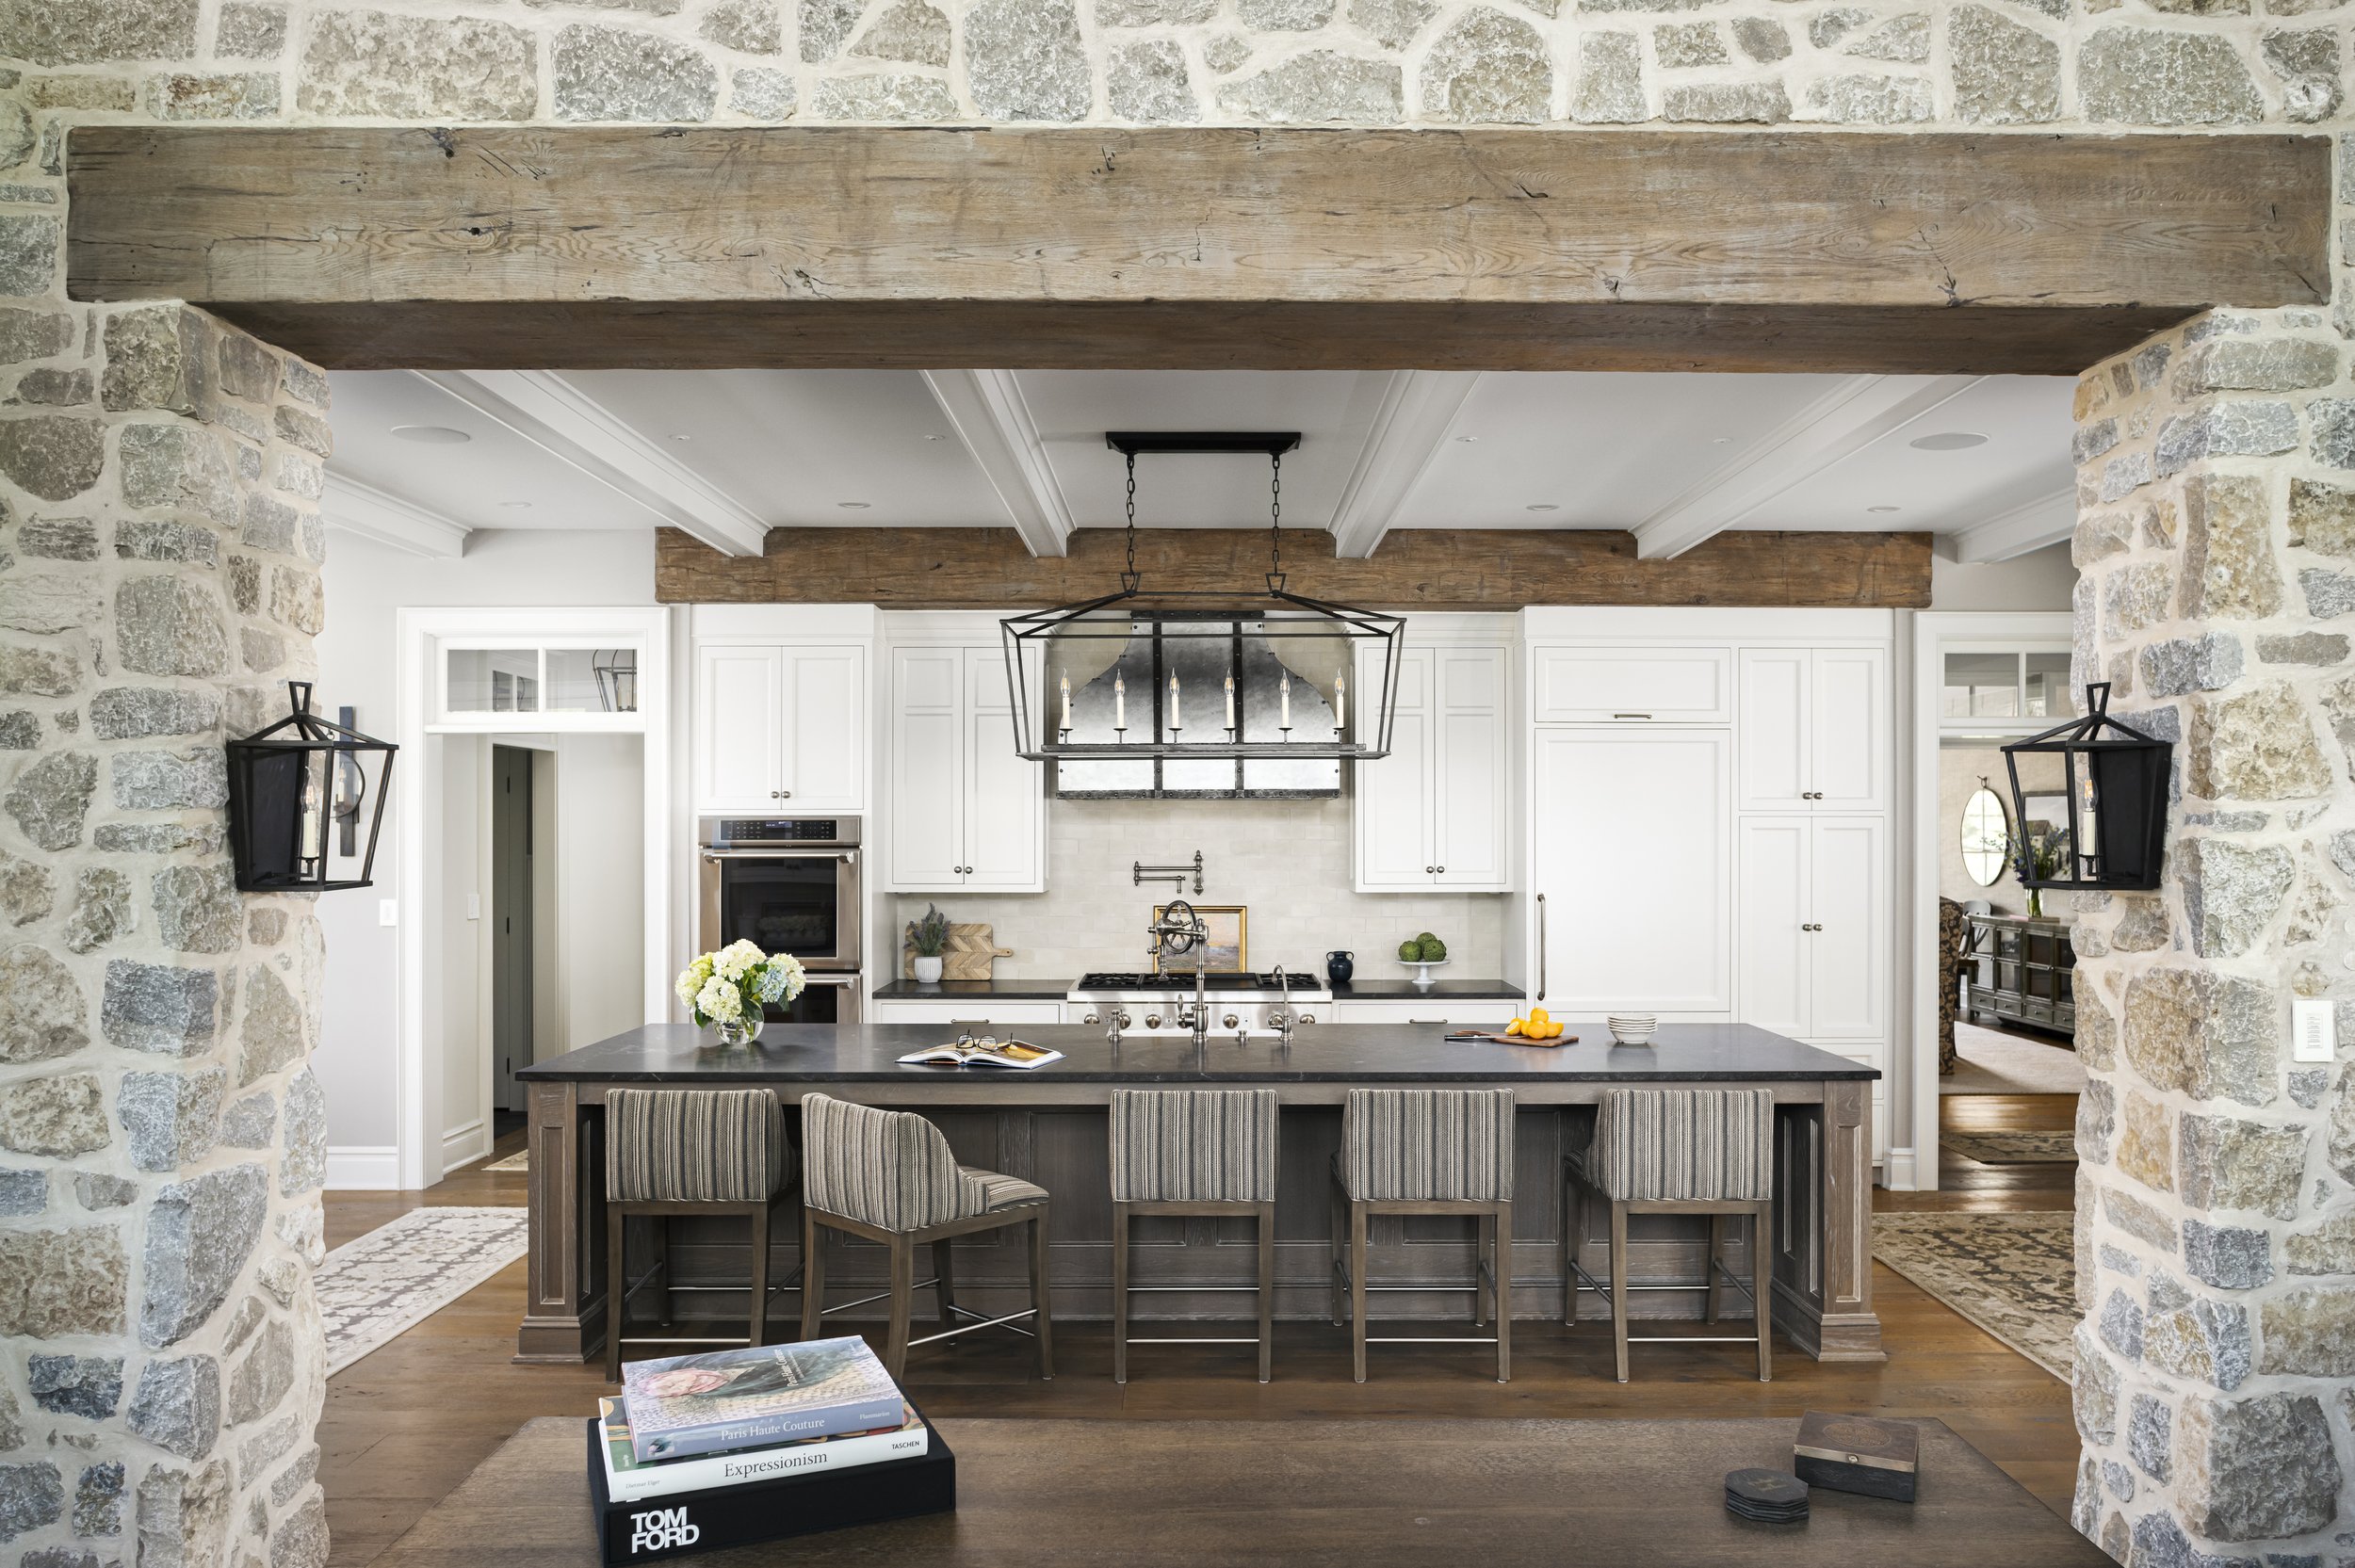
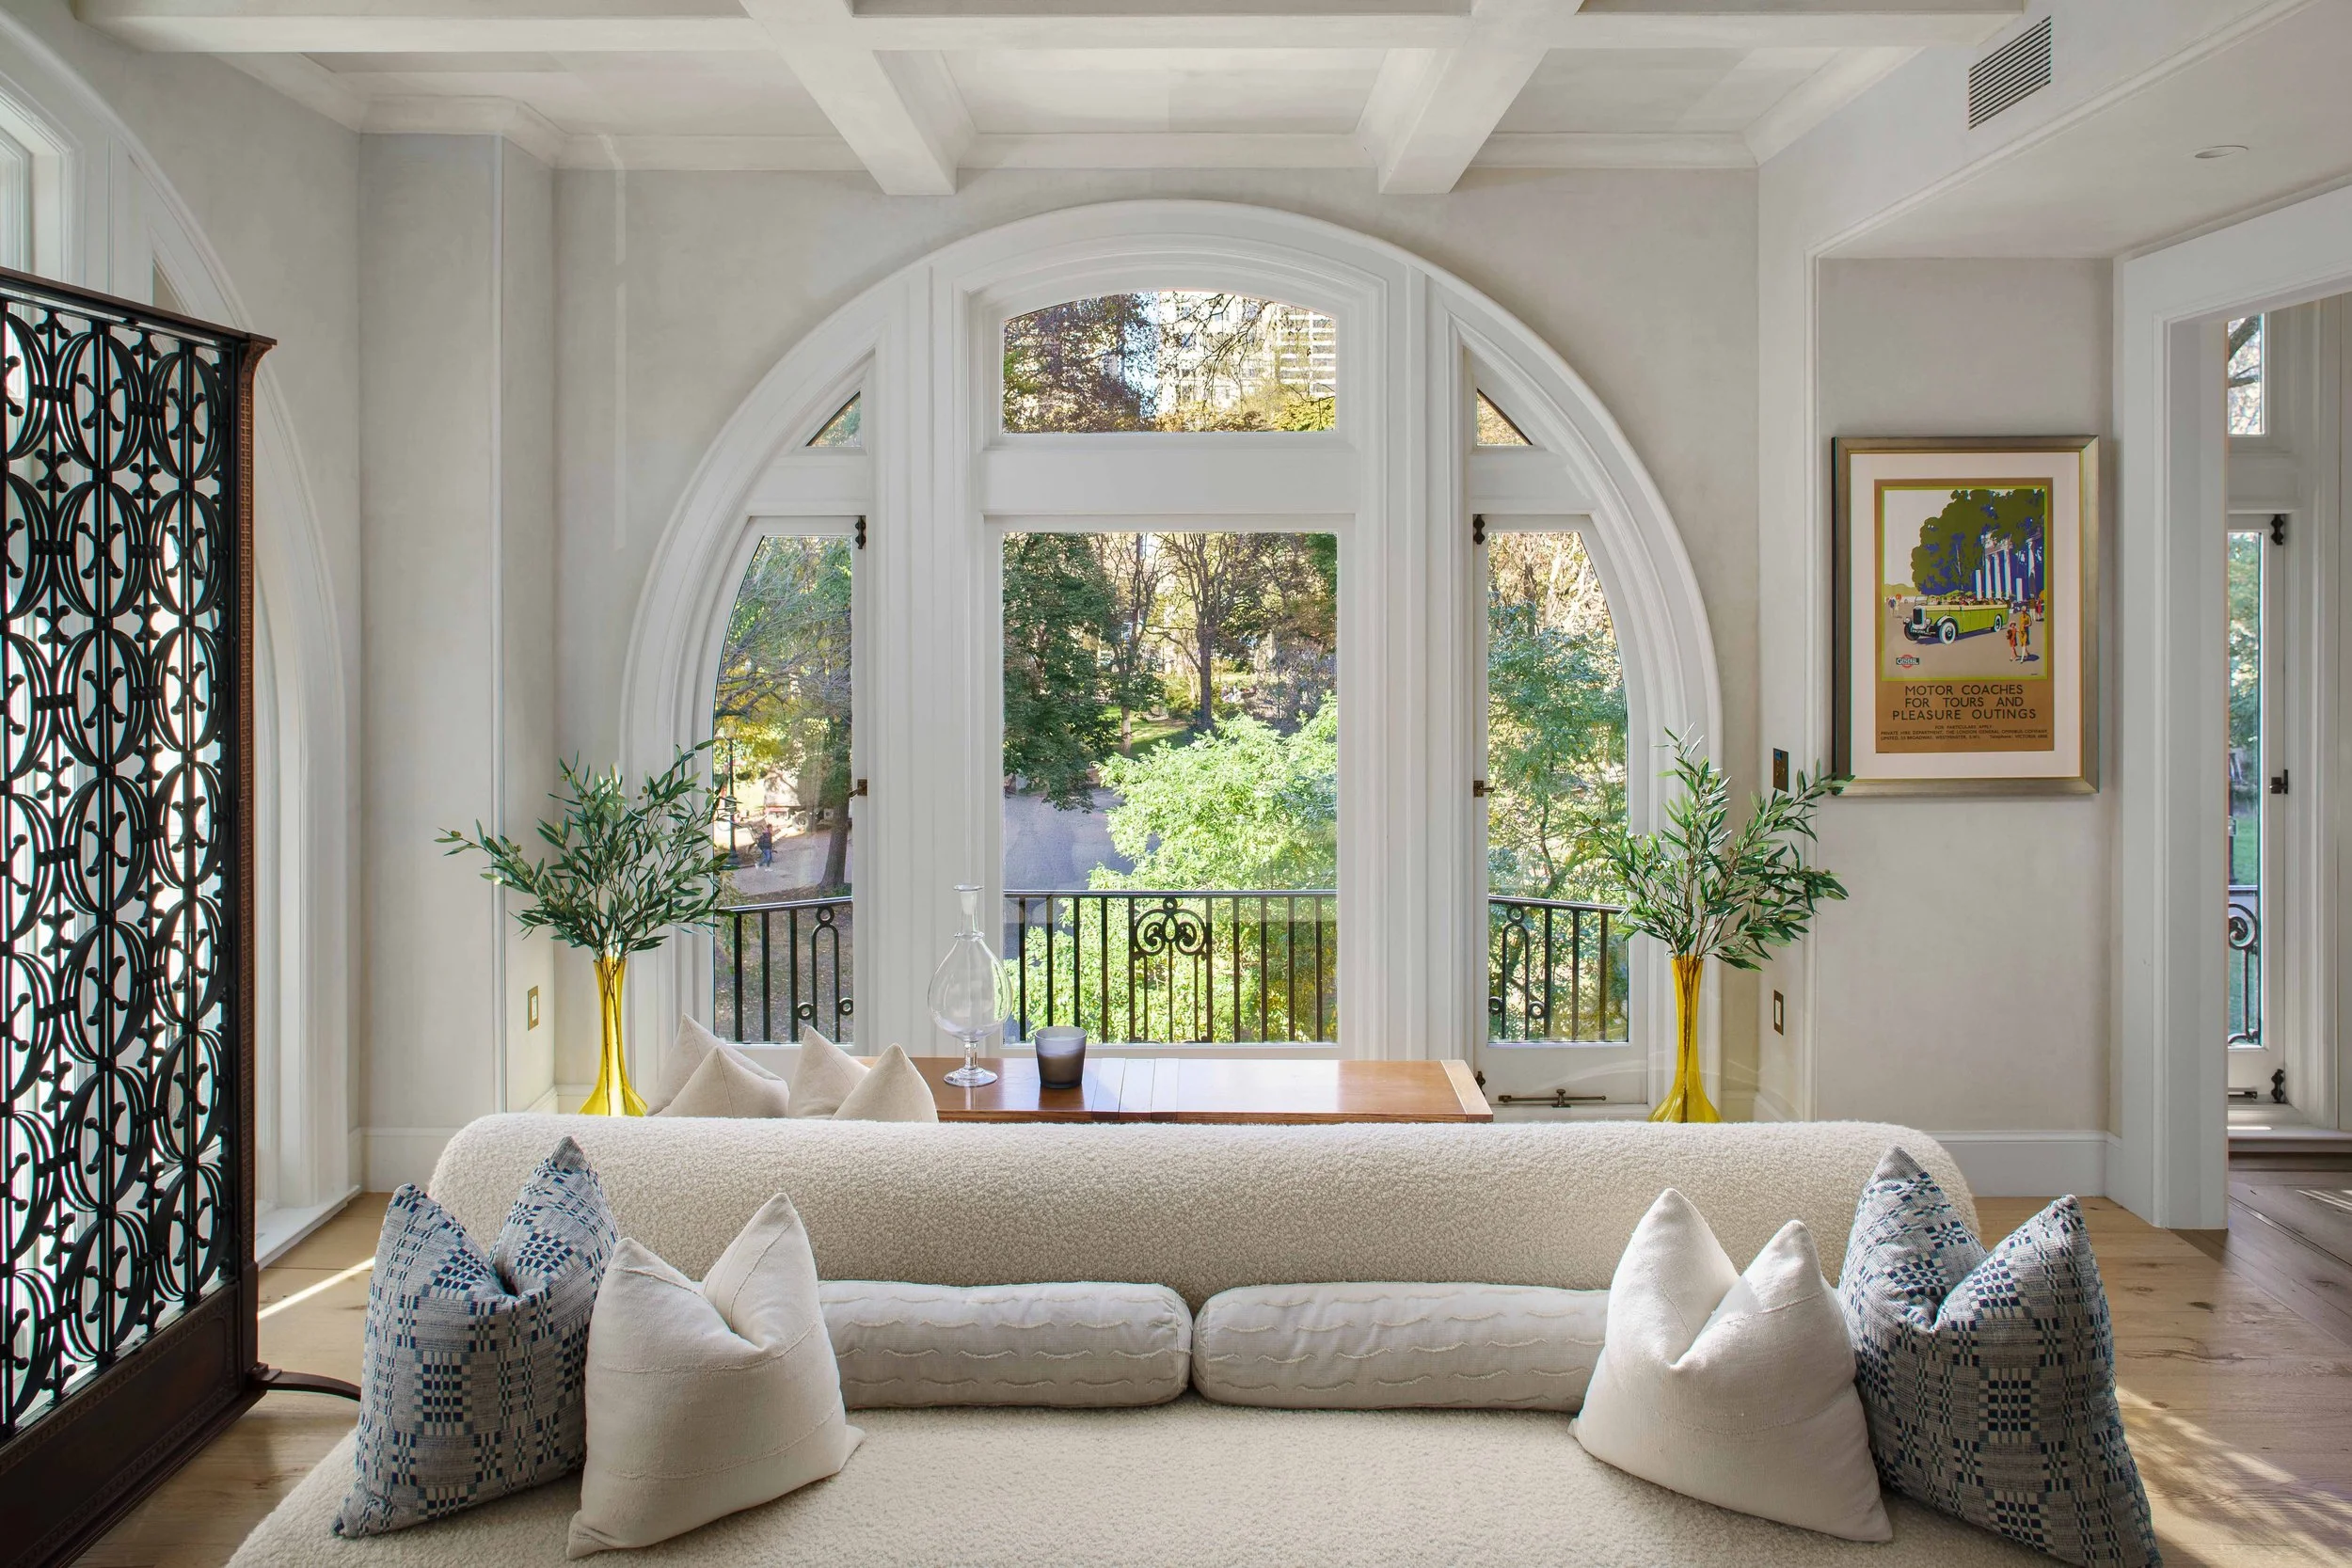
3 Tips - Flambient Style Real Estate Photogrpaphy
Blending flash + ambient = Flambient. The process of compositing light is a skill that can take your photography to the next level.
Flash alone can give your photos an artificial look, while natural or ambient light may not always be enough to illuminate your subject. By combining both sources of light, you have the ability to create depth and drama in your images.
Tip 1: Understanding Flambient Technique - Choosing a Flash
For flambient, we recommend to start using off-camera flash, such as the Godox AD200, AD400, or AD600. Using a flash that goes in your hot-shoe (above the camera), gives you limited capabilities for the flambient technique. Below, we give some helpful notes on each product and order them by price from lowest to highest. Each product offers different abilities for every level of photography. We’ve also linked them below for your convenience!
Compatible with most digital cameras, light weight, fits in most camera bags, powerful, great to have multiple, and the most affordable option of the three. 200watts
Second most powerful of the three options, vast compatibility, wireless - off camera flash, great for studio setting or out on location, and longer battery life than the AD200. 400watts
The most powerful of the three options, vast compatibility, wireless - off camera flash, great for studio setting or out on location, and longer battery life than both options above. 600watts
This technique allows you to direct the direction of the light source, making it possible for you to highlight specific details or areas of your subject. You'll understand this in our next post when we discuss some editing techniques with flambient style.
Tip 2: Bounce or Direct Flash?
Bounce
Another way to achieve that seamless blend of artificial and ambient light is by bouncing your flash off a white wall or ceiling. Notice how we said ‘white’. It’s important for your camera to read the WB (white balance) for the shot. If you bounce off a red wall perhaps, you will struggle with WB in post processing. Buy this White Balance Card to ensure a perfect WB every shoot!
This method is helpful for 3 reasons:
Distributes the light evenly
Eliminates harsh flashes on your subject
Gives you control of light direction for accurate shadows.
Direct
This is best practice when using a diffuser on your flash source, such as a magpod or umbrella. You will point your flash directly at your subject (at a lower power when compared to bouncing because the light will travel less distance to the subject) and this will pull your subject from the background very nicely. Try it from different angles for best results (left, right, behind, overhead, etc.)
Step 3: Let The Ambient Light Do The Work
Our last tip is to embrace the ambient light and let it do the heavy lifting. The idea behind using flash and the flambient blending technique is to highlight areas of the room that are important. The key is to not over do it! You will be using a tripod and taking multiple exposures, popping flash around the room. Once you have all the images, you will pop them into Adobe Lightroom, select all the raw images you need to create one final image, right click - ‘open as layers in Photoshop’.
In Adobe Photoshop, when creating a mask, with the brush tool (flow should be around 8-10% and your brush should be as soft as possible with a strong feathering), brush in the areas you’ve flashed that you would like to highlight. This makes the flash look very natural when blending throughout the room. It takes time and a lot of practice.
PS- don't forget to align all of your raw images first!


